

This is Pes (Pro Evolution Soccer) Football game faces optimization tutorial, step by step with pictures. Why this optimization? HD (High-resolution) faces we need only when it is shown big on the screen. This is action replay, startup animation etc. In the game we players are small and we can’t seen faces ditels. The advantage of this is because Nvidia plug-in changes the resolution depending on the proximity face.
Software requirements:
- Photoshop
- Nvidia DDS plug-in for Photoshop:
- https://developer.nvidia.com/sites/default/files/akamai/tools/files/Photoshop_Plugins_8.55.0109.1800.exe
https://developer.nvidia.com/sites/default/files/akamai/tools/files/Photoshop_Plugins_x64_8.55.0109.1800.exe - PES Ultimate Data Explorer
Instructions
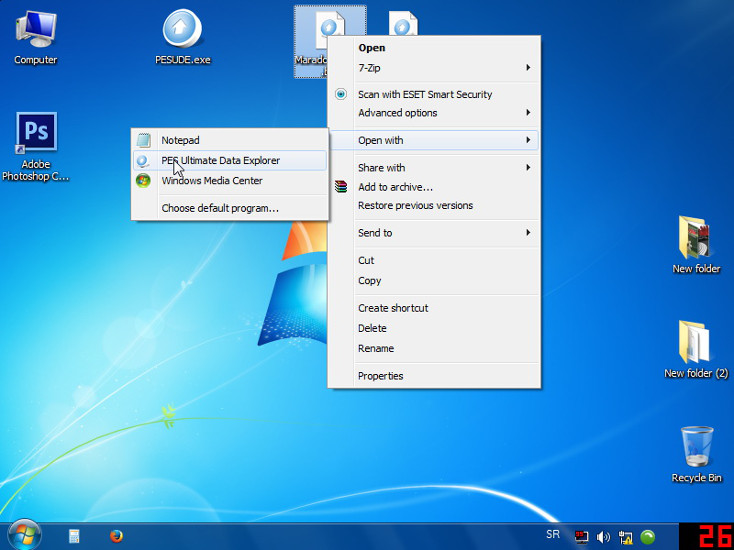
1. Open faces file
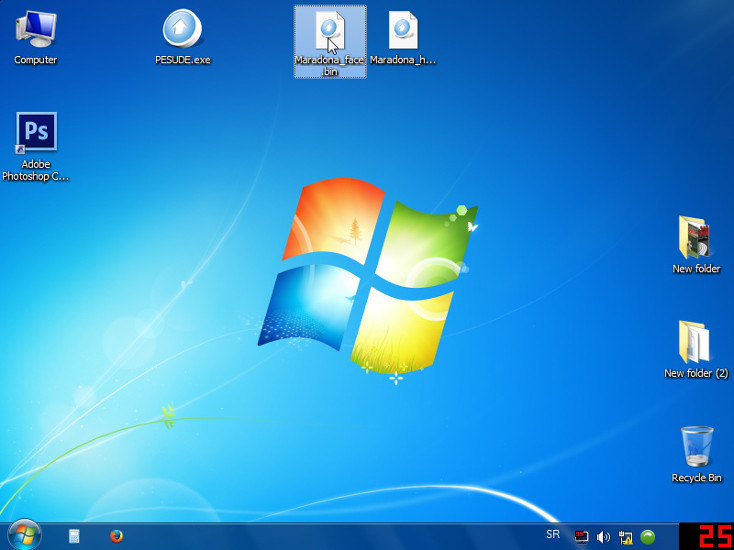
Open bin file using Pes Ultimate Data Explorer: Open with > Ultimate Pes Data Explorer
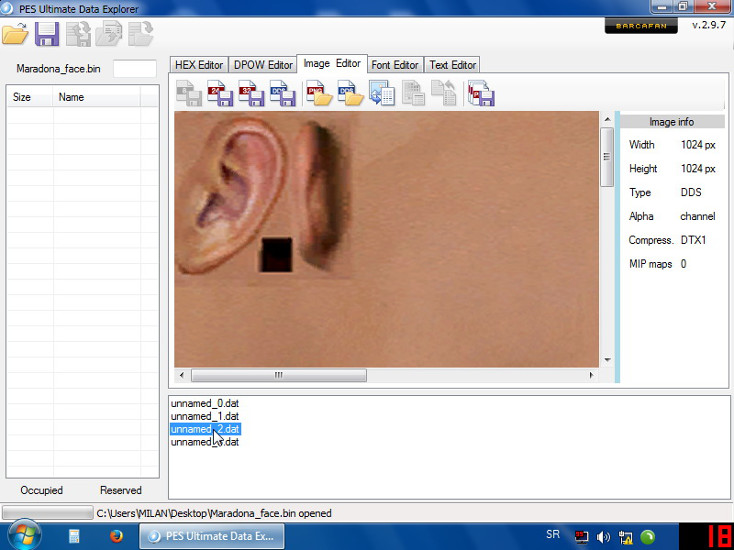
unamed_2.dat is pes faces texture.
If it in DDS formatat default resolution is 1024×1024 DTX1 MIP maps 0
This need be optimized. When all faces are optimized game is better, and no need very fast graphic card. This is a major problem lag in game in PES 2013.
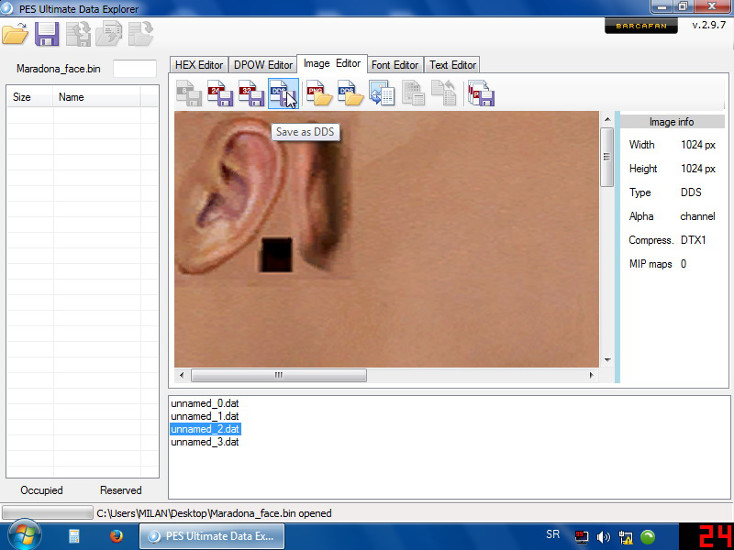
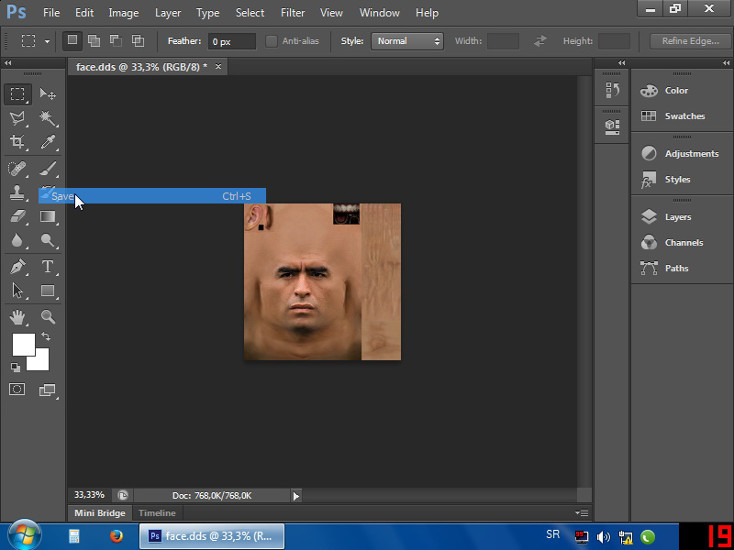
Click to Save DDS

Open DDS file using Photoshop. Nvidia plguin mus be installed.
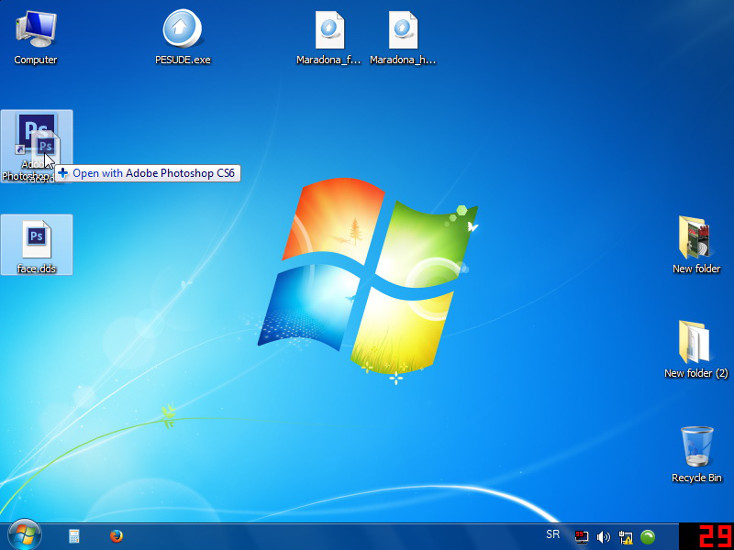
Load in Photoshop and click to button OK.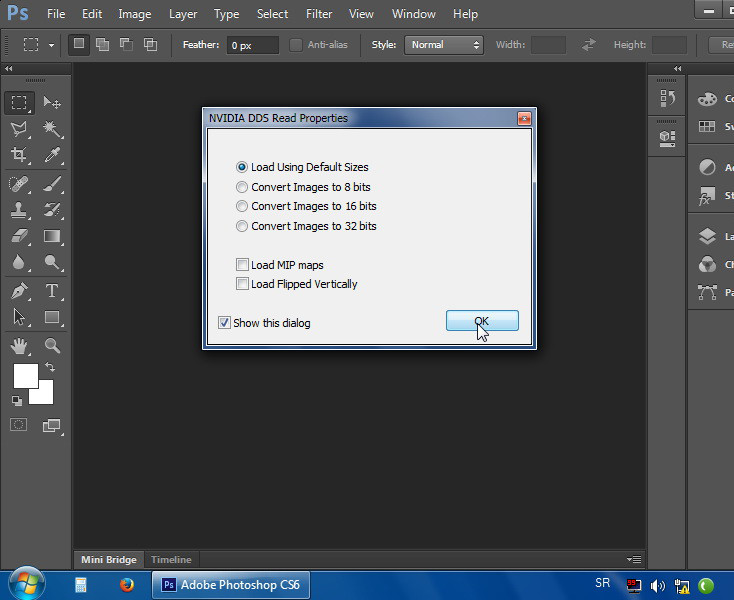
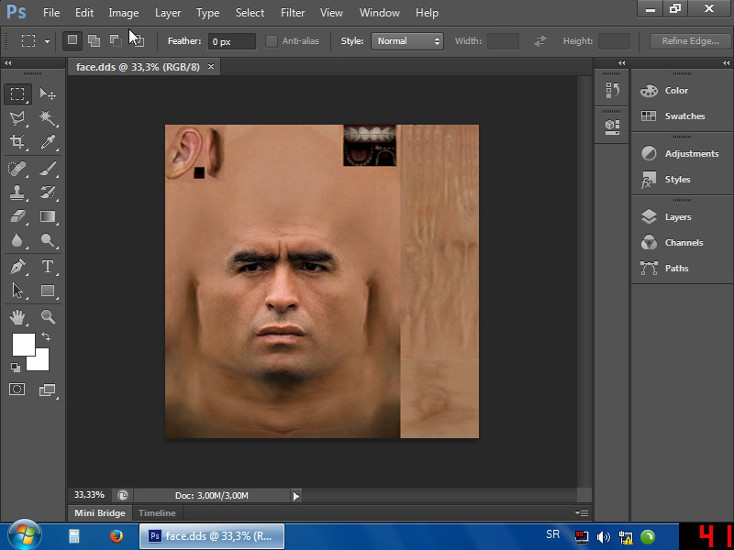
Click on the image
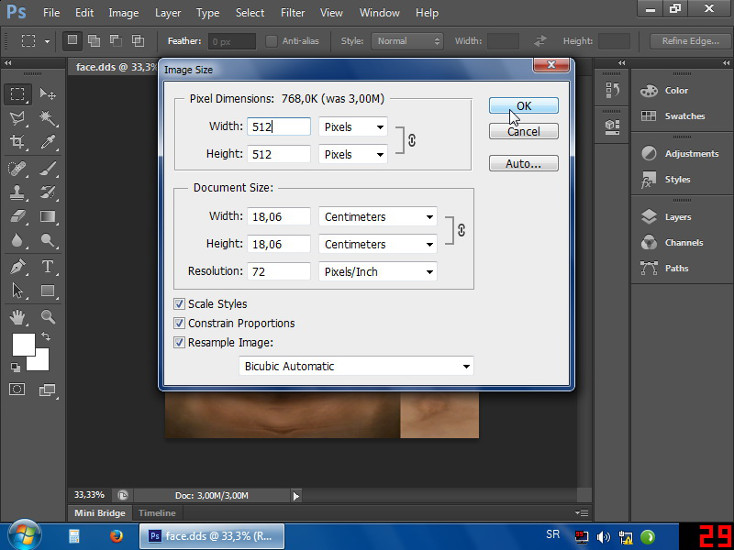
On the Image size change resolution from 1024×1024 to 512×512 pixels.
Save edited file
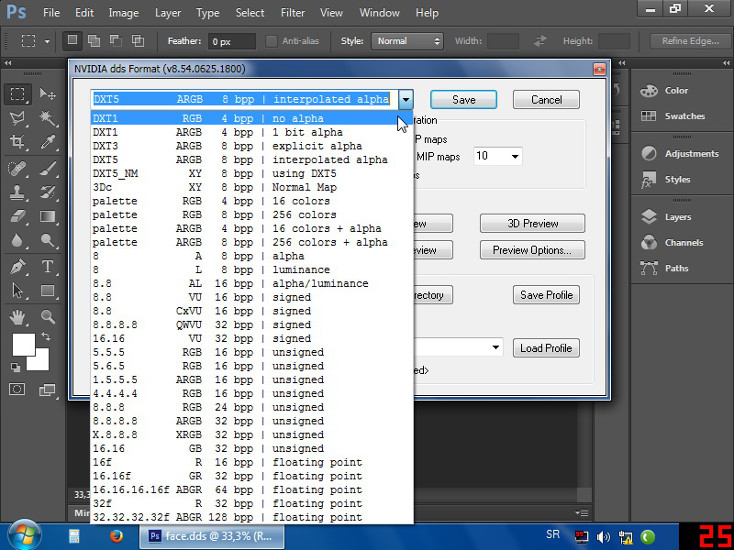
For PES faces need choice option DXT1 RGB 4 bpp no alpha (first option).
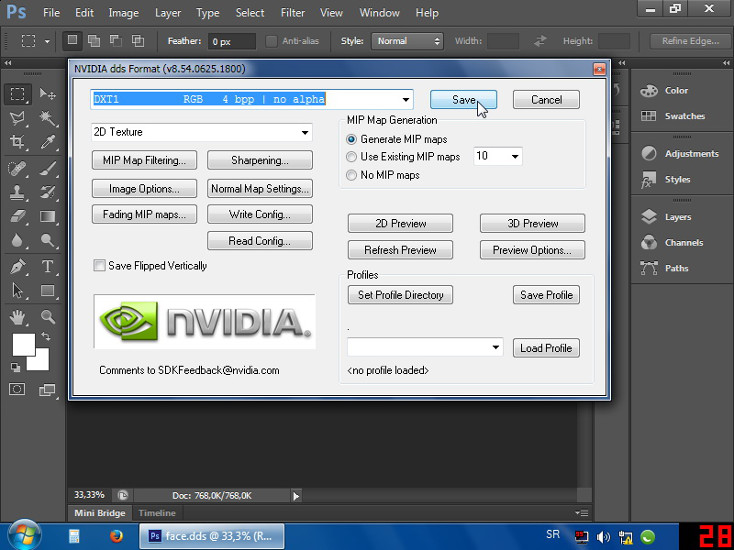
Click on Generate MIP maps. Set number 10 and click Save
Again open Face bin file with PES Ultimate Data Explorer. Click Open DDS.

Choice editetd DDS texture faces file.

Click to replace.
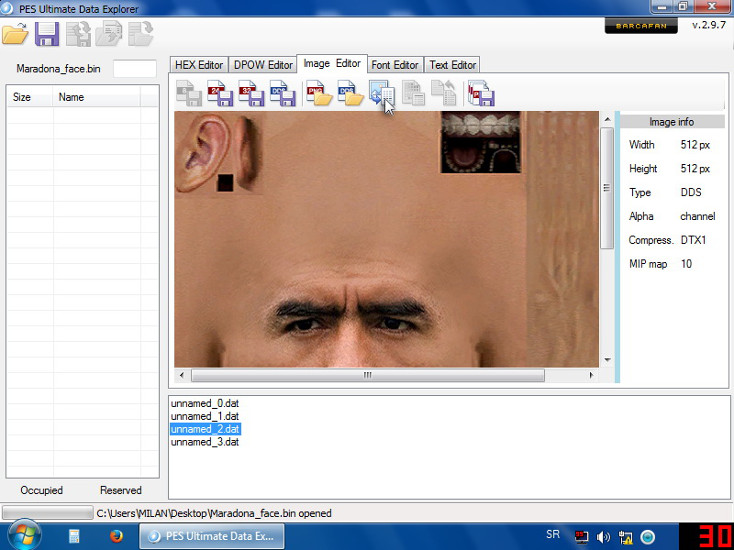
Finally click on Save.
And this PES Face is optimized in bin format.

Wellll how the going there peopleI fell that PES12 was teblrire simply because of its realism if PES really want to be better than FIFA well its simple all you got too do is this a bit of editing like in this link it amazing look at how when you score a goal look what the nets do its so real not just is it that but the diffrent style of nets now that class the pitch texture is a lot better in this editing than the original pes12 and the communtary even do its not english they make it sould like your right there with them in the game check it out